I’m always a bit surprised when folks ask me, “Can I wash my hockey gloves?”
Hockey gloves, like every other piece of hockey equipment, can and should be washed on a regular basis. Washing your gloves is no different than a strenuous, sweaty practice where the palms and gloves themselves end up completely soaked.
The most important thing to remember when washing your hockey gloves is to air dry them completely once you’ve finished washing them. One of the easiest ways to have to repair your hockey gloves is to use them when they’re soaking wet. This is because the material your glove palms are made of get’s weaker as it soaks with moisture.
What’s the best way to wash hockey gloves? How can I remove that god-awful smell from these? Ahhh, I love these questions.
The sweet, sweet aroma of washing hockey gear. Spring must be in the air, somewhere.
Washing hockey gloves is the same as washing any other piece of equipment.
Rule number one of washing hockey gear: you can do this yourself. No need to pay $50 or more to have it washed anywhere else! Though, if you’re like me, and you get a bit lazier with age, if somebody else is willing to do it, maybe taking them up on the offer isn’t such a bad thing after all.
Here’s How To Wash Hockey Gloves Step by Step
- Step 1: fill your tub with hot water (8-10 inches will do)
- Step 2: add OxiClean to the tub and submerge the gear
- Step 3: drain and repeat as many times as necessary
- Step 4: add gloves, towels, socks to your washing machine
- Step 5: dry gear outdoors in ventilated area
It’s no surprise that hockey gloves are often the smelliest piece of gear a hockey player owns. For that reason, these things can scare your average parent out of the sport. Learning how to wash hockey gloves and remove the smell is actually easier than you’d think. You can do this!
Oh, and the right way to wash hockey gloves? There is no right way. If you find a method that beats mine, let me know as I’ll adopt yours. This method works well for me as it’s the easiest way to remove the pungent smell. If yours works I’ll happily try because nothing truly removes it 100%.
If you are interested in starting fresh, you can also check out a post on our website about the best hockey gloves… But buying a new set of gloves isn’t why you came here so let’s continue on.
Step 1: fill your tub with hot water (8-10 inches will do)
Wait, I thought you said we were going to wash the gloves in the washing machine?
Be patient. We’re getting there. The reason we like to soak our gloves first is that it gives us the chance to use OxiClean on the rest of our gear. And honestly, with the amount of black in your tub after submerging your gear, you’ll be happy we didn’t go straight to the washing machine.
Cleaning your hockey gloves sucks, but it takes little extra work to do everything at once.
Step 2: add OxiClean to the tub and submerge gear
Really, you can add as much OxiClean as you’d like. I go with about 2 scoops, for, uh science.
Two scoops works well for a standard bathtub about 10 inches full. Once I add the OxiClean I like to mix it around so everything is fully disolved before adding my gear. Make sure when you add your gear, submerge it using whatever heavy items you can find around the house. Weights, jugs of water, whatever. It doesn’t have to be fully submerged, just get most of it.
For things like your shoulder pads etc, feel free to flip it.
Soak your gear for 10-20 minutes. Make sure to move the water around a bit if you can.
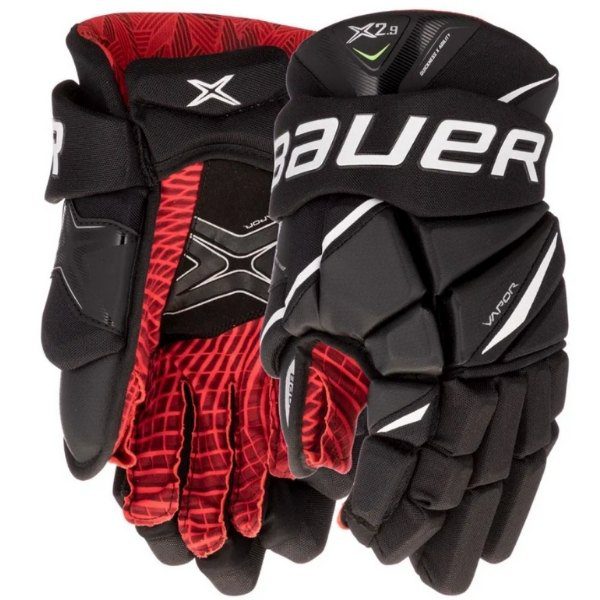
These are the most affordable hockey gloves that offer the highest value... If you are on a budget, these are a popular choice.
Step 3: drain and repeat as many times as necessary
You’re probably going to want to repeat step 2 a few times. 2 to 3 times should be plenty, but keep going until the water is considerably more clear, or it stops getting cleaner. You’ll be able to tell. The process can take up to an hour or more, but you’re not doing anything else so let is soak.
Step 4: add gloves, towels, socks to your washing machine
Now, we’re going to separate the gear into things that can be washed and things that cannot.
Technically, you could probably wash just about everything in your washing machine, but straps tend to get worn out and plastic doesn’t go well in the washer so I only tend to put my gloves and other obvious washable items in the machine.
Add in a few towels, add some white vinegar to your detergent, and let it rip.
Step 5: dry out gear outdoors in ventilated area
The last and easiest (but most important, or everything you’ve just done will be ruined) step, dry out your gear.
Hang it out over the deck in the sunlight, put it on the driveway where it won’t get run over, put it wherever you’ve got to put it but make sure you let it out to dry. I like to let my gloves and gear dry for a full day before putting it back, and I don’t put it into my bag once it’s done drying just in case. I will leave it out all over the place (just being honest) until I have to pack it back up into my bag for the next trip to the rink.
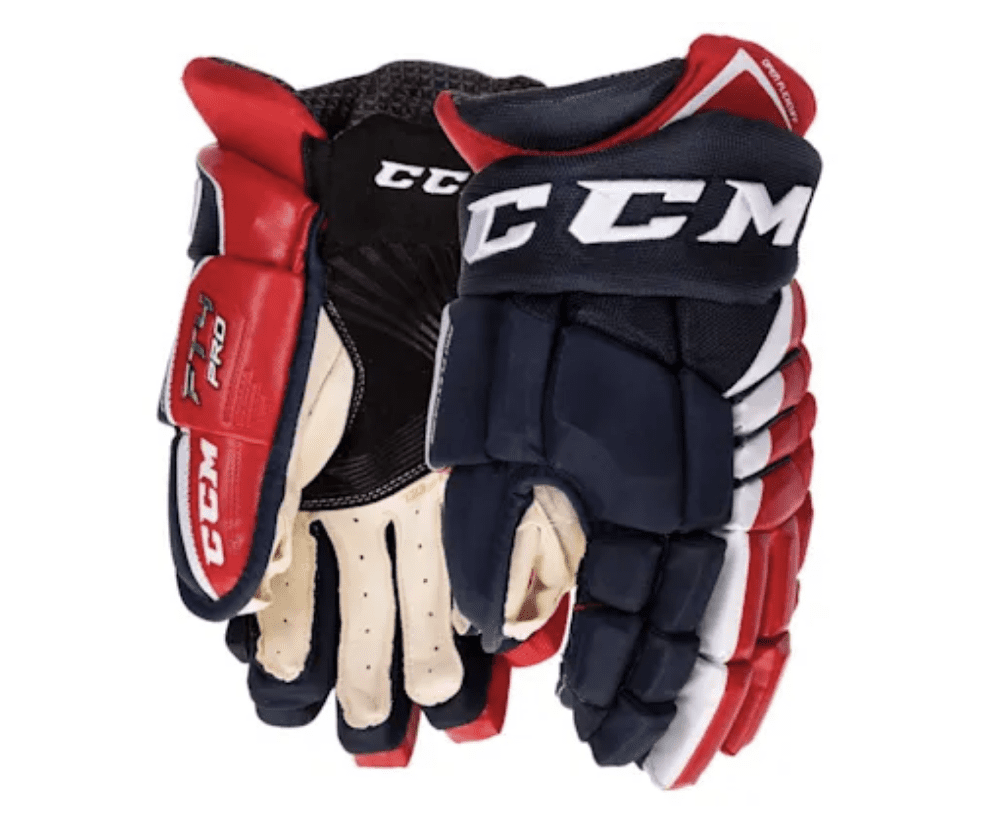
Say hello to some of the most comfortable, high performance hockey gloves you'll ever wear. These blew competitors out of the water in every category during our testing early in the winter of 2020/2021.
How do I remove the smell from hockey gloves?
The easiest way is to wash your gloves in the washing machine. I like to add a couple towels and wash on a low tumble cycle. You can add white vinegar to help pull that rotten smell from the gloves if you’d like.
That’s the easy way. Washing machine, wash the gloves, done.
But, as you already know, we like to keep it a little extra when it comes to doing things the hockey players way. So, while you’re considering washing your gloves, let’s clean out the rest of your gear as well.
For more information on washing your hockey gloves, check out this video.
Wrapping It Up
That’s it, your gloves will be as good as new. Hopefully you have learnt enough information to get a good and thorough clean of your gloves.
That being said, thanks for reading!